2. Please import your Action Shot pictures and turn in your Action Shot Contact Sheet 1.
3. Begin working on your adjustments and caption creation.
Your caption should tell the viewer important information about the picture including subject(s), location, sport or activity, and significance.
Your caption should be at least two sentences long with proper grammar, spelling, and punctuation. The caption should tell a story and add to the picture, giving the viewer and reader context.
You will turn in a contact sheet at the end of the period with four pictures that are cropped, adjusted, and captioned. These should be your best four pictures.
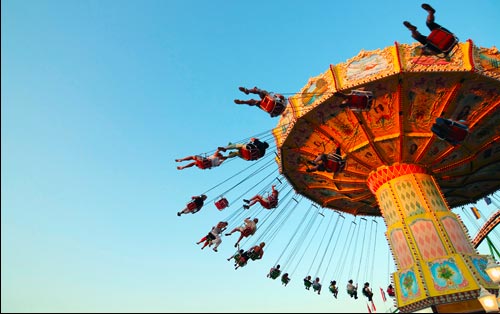
Please look at this example of action photos and captions.
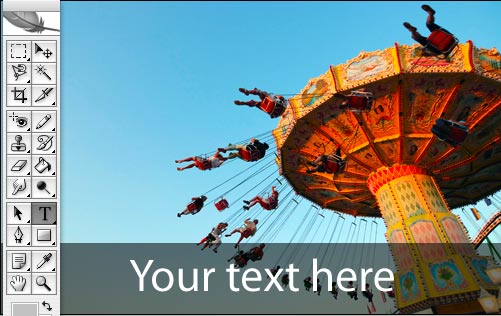
Here is an easy way to create a nice looking caption on your picture. (Thanks Mr. Story for lending us your tutorial).

First lets start with the image. Think about what you want to showcase. What is the most important part of the picture? Is everything needed? What should be cropped?
Cropping the image
Cropping the image is an important stage. At this stage you should be aware of the text to go on the image and have an idea of where it should go. Play with where the text is going to appear using the Move tool. Basically you need to leave a little extra room for the caption (see below).
Creating the opaque layer
Create a new layer and draw a shape using the rectangle tool. You are not limited to the rectangle tool so experiment with other tools. To reveal some of the image underneath you alter the opacity of the layer. In the layers menu highlight the rectangle layer you have just drawn. In the very top right hand corner is an option called Opacity. Click on this and then drag the slider until you are happy with the appearance.
Adding text

Add the message you would like on top of the layer. You can play with colors and fonts but I find the a strong contrast works well.
I would recommend using a dark gray or black background with white text.
No comments:
Post a Comment