http://nwhsff.weebly.com/2015-entry-form.html
You must export your video/animation first. Then you fill out the entry form and upload your video to the film festival web site.
Wednesday, April 15, 2015


Exporting From Premiere Pro
Exporting From Adobe Premiere Pro
These are the settings to export HD Quality Video
 File>Export>Media
Format=H.264
Preset=HD 1080p 29.97
Name your file in the Output Name. You also can choose where to save your project at this time. I would recommend the Desktop or Movies folder.
Make sure you look where you are saving the file.


Click export.

Format=H.264
Preset=HD 1080p 29.97
Name your file in the Output Name. You also can choose where to save your project at this time. I would recommend the Desktop or Movies folder.
Make sure you look where you are saving the file.
Find your project in the area you saved it on the computer.
Next, drop your video in the Vidstore Server. Don't forget to use the Naming Convention: 2-mitchellt-Sequence.
Go
Connect to server
Vidstore.shorelineschools.org
Name: scvideo
Password: Outback23
SC Video classes
Place in Period 3 or 5
Thursday, April 09, 2015
Photo 2: Long Exposure Assignments
This assignment will be broken into three parts.
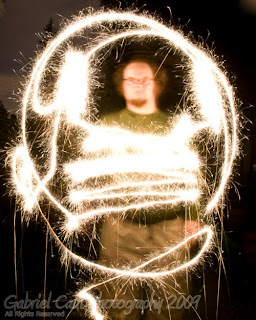
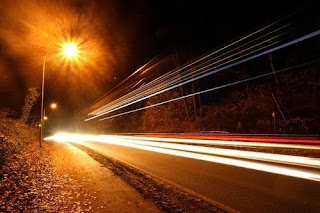
Part 2 is nighttime long exposure. Please read the information here and take notes.
Click here to see some awesome examples.
Click here to see some awesome examples.
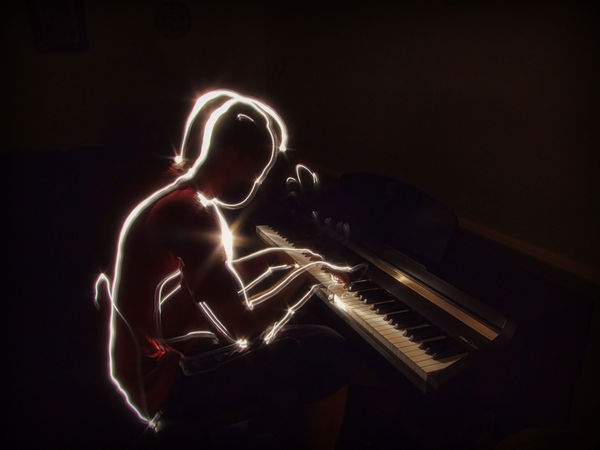
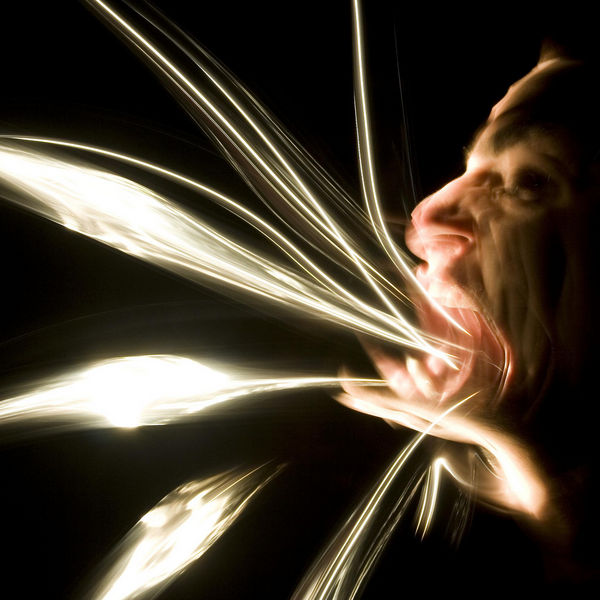
Part 3 is long exposure pictures of your choice. You can do light painting, you can shoot outdoors at night, or you an experiment with something different. You can use people as needed. You can even shoot early morning or late evening instead of at night.


Schedule:
April 30th: Reading, discussion, and practice.


April 30th: Reading, discussion, and practice.
Tuesday May 3rd: Bring lights to class.
Light painting at school in the studio.
Thursday May 5th: Light painting away.
Light painting at school in the studio.
Thursday May 5th: Light painting away.
Shooting Day 1. Contact Sheets due both days.
Homework (you can start now): One outdoor long exposure photo shoot done at night or early morning.
Homework (you can start now): One outdoor long exposure photo shoot done at night or early morning.
Long exposure shots of your choice.
Monday May 9: Homework due.

Wednesday, April 08, 2015
How To Import Your Stop Motion Pictures Into Adobe Premiere
- Plug in your camera to the computer or place your memory card into the computer.
- Import your pictures by first opening Image Capture.
- Select on the pictures you want to import and make sure you notice where you are saving the pictures.


First, make a folder for your pictures. If you shot on multiple days please make sure your pictures are organized by day (make a separate folder for each day's pictures).
Select on just one of your pictures that you took for this project. Right click 'Get Info.' You'll notice that the dimensions are listed under more info.
Write these dimensions down.


Open Adobe Premiere. Create a new project (File>New>Project) and name it Stop Motion. Click OK.
Select Digital SLR>1080p>DLSR 1080p30 and name your sequence. DO NOT CLICK OK YET.


Click OK after you change the Video frame size.
Go to Adobe Premiere>Preferences in the upper left hand corner. Click General. Change the Still Image Default Duration to 3. (If your pictures play too slow after changing these settings try changing them to 2). Click OK/
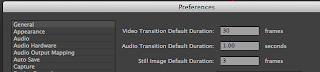

Next, go to File>Import and your picture folders. Note: import each day of photos in their own folders. DO NOT MIX THE PHOTOS.


Tuesday, April 07, 2015
Tuesday, March 31, 2015
Top 20 Cell Phone Camera Shots
http://www.huffingtonpost.com/2015/03/31/sony-world-photography-awards_n_6976552.html
Thursday, March 26, 2015
Urban Landscapes
Urban Landscapes

Think hard about the at least 10 specific locations in Shoreline, or the greater Seattle area where you could go to take some amazing examples of Urban Landscape photography.
(You should think of 2 possible locations for each of the 5 categories listed below).
(You should think of 2 possible locations for each of the 5 categories listed below).
Here are a few great tips on Urban Landscape photography:
1. Early Bird Catches the Worm – First thing in the morning is a great time to shoot for a number of reasons including that the light is diffused and the ‘sky acts like a giant filter’. I find that early morning shots can be great for other reasons too:
- Clean Streets - Most street cleaning happens over night and the early morning often finds urban scenes with less litter to clutter your shots.
- People Free Shots - Shots around dawn have less likelihood of being cluttered by people. It’s amazing who lonely a city can look if you’re able to get a people free shot.
- Different Activity – Of course you might want people in some of your shots – It’s amazing how an urban area can change depending upon who is around. While at 9 am you’ll get a peak hour feel to your shots and on the weekend at midday you might get a crowd of shoppers – in the wee hours of the morning there’s a whole different group of people wandering the streets can give your shots a whole new focal point.

2. Prospective Perspectives – I would suggest that the shape of the buildings that you’re shooting should alter the way you frame your images. Buildings with domes should include background to help viewers appreciate it’s form and square buildings look best when shot at a 45-60 degree angles.

3. Up and Coming – Don’t just photograph the finished product when it comes to buildings but also focus upon construction areas, or areas of decay, and what has been forgotten or is being built and/or renovated.

4. Permission to Shoot – Some places don’t allow public photography and you might need to get a license and/or other form of permission to photograph them. You could liken it to getting a model release when photographing people. Getting permission can mean the difference between owning copyright or not of the images you take in some instances. This will of course vary from place to place.

5. Angle Attack – Find new angles to photographing well known buildings. Find areas of them that are hidden from the average photographer and look for interesting patterns, shapes, textures, reflections and angles that highlight the details of the building that might have previously been missed by others.
Subscribe to:
Posts (Atom)