Digital Photography: Portrait Assignment
You will shoot portraits over the next
two weeks on Thursday November 29 and Tuesday Dec. 4.
One
day you will shoot at school using the lights in the studio and the
other day you will
shoot off-campus at a predetermined location.
You will shoot AT LEAST
24 pictures of your subject each day (most of you will shoot between 50
and 75 pictures.
You can, and probably should, take pictures on the
weekend as well.
1. Find two interesting human subjects. The people you choose should WANT to be in the picture and they should be willing to cooperate. It's OK to work with people in this class.
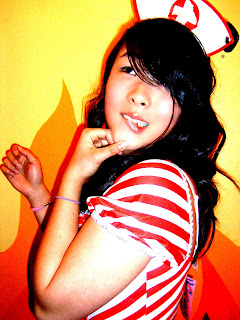
2. Talk to your subject. What type of portraits do you want to create? Use colors or lighting to create a concept for your portrait. Costumes or uniforms work great. Imaginary ideas are OK. Choose an interesting setting based on your concept.
3. Change angles between shots. Shoot at least 24 pictures of each subject.
4. Use props if they will help the audience learn something about the subject.
5. Vary the lighting. Use filters, flashlights, lamps, or multiple lights to enhance your picture. Use the different lighting techniques that you will read about in class (see above).
6. Encourage different emotional looks. Pretend you are Austin Powers taking pictures. Tell your subject they are "groovy".
7. Having your subjects "pose" in action is just fine.
8. Most importantly for this assignment don't forget your compostion rules. Use framing, leading lines, rule of thirds, color contrast etc. to enhance your photo. Fill the frame.
Portrait HintsPart 1
Portrait Hints Part 2
More Hints
Even more hints
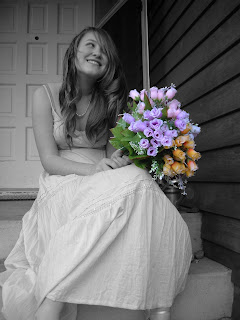
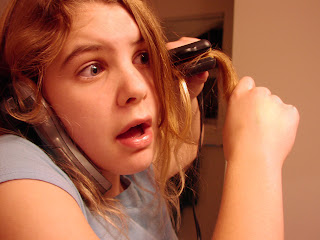
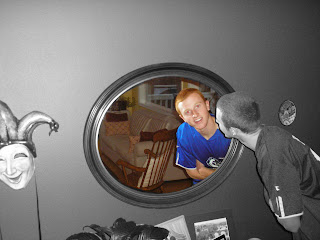


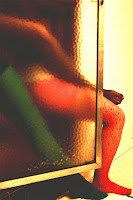

Here is a list of the different types of portraits photos you will turn in:
Finally, you will turn in your best picture as well.
Lighting!!!1. Find two interesting human subjects. The people you choose should WANT to be in the picture and they should be willing to cooperate. It's OK to work with people in this class.
2. Talk to your subject. What type of portraits do you want to create? Use colors or lighting to create a concept for your portrait. Costumes or uniforms work great. Imaginary ideas are OK. Choose an interesting setting based on your concept.
3. Change angles between shots. Shoot at least 24 pictures of each subject.
4. Use props if they will help the audience learn something about the subject.
5. Vary the lighting. Use filters, flashlights, lamps, or multiple lights to enhance your picture. Use the different lighting techniques that you will read about in class (see above).
6. Encourage different emotional looks. Pretend you are Austin Powers taking pictures. Tell your subject they are "groovy".
7. Having your subjects "pose" in action is just fine.
8. Most importantly for this assignment don't forget your compostion rules. Use framing, leading lines, rule of thirds, color contrast etc. to enhance your photo. Fill the frame.
Portrait HintsPart 1
Portrait Hints Part 2
More Hints
Even more hints


Here is a list of the different types of portraits photos you will turn in:
- A Vignette Photo
- A Grayscale Method Photo
- A One Item Kept in Color Photo
- A selective Focus Photo
- A minimally adjusted photo
- One WHACKY anything goes portrait (change the colors, use the liquefy tool, and make this as unique and interesting as you can)
Finally, you will turn in your best picture as well.

http://mrstorydigiphoto.blogspot.com/2011/12/different-lighting-techniques.html
- Creating Killer Headshots: The Cheap Way! - David Griffin
- A quick start guide to the one light setup - David Griffin
- Back Lighting - Studio Lighting Setup - StudioLighting.net
- Paramount (Butterfly) Lighting - Studio Lighting Setup - StudioLighting.net
- Multiple Light Portrait Setup Hints - David E. Price
- Short Lighting - Studio Lighting Setup - StudioLighting.net
- Broad Lighting - Studio Lighting Setup - StudioLighting.net


