This is the class blog site for Digital Photo,Game Design, and Animation classes at Shorecrest High School. Each day the site will be updated with assignment information, trivia questions, interesting web links, and dicussion questions. Please bookmark this site as your home page.
Wednesday, October 29, 2008
Monday, October 27, 2008
Lighting Help For Portraits
http://www.fodors.com/focus/focselect.cfm?catid=7
- Creating Killer Headshots: The Cheap Way! - David Griffin
- A quick start guide to the one light setup - David Griffin
- Back Lighting - Studio Lighting Setup - StudioLighting.net
- Paramount (Butterfly) Lighting - Studio Lighting Setup - StudioLighting.net
- Multiple Light Portrait Setup Hints - David E. Price
- Short Lighting - Studio Lighting Setup - StudioLighting.net
- Broad Lighting - Studio Lighting Setup - StudioLighting.net
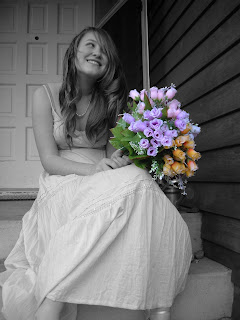
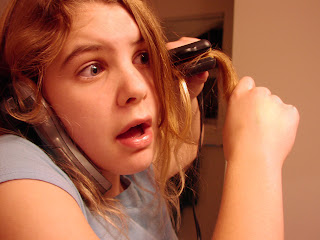
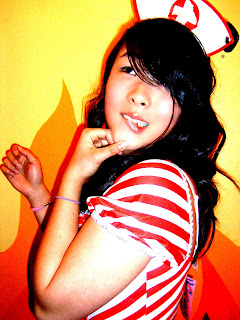
Portrait Assignment
When you shoot off campus you will pick locations that enhance color, lighting, and backgrounds etc.
1. Find an interesting human subject. The person you choose should WANT to be in the picture and they should be willing to cooperate.
2. Talk to your subject. Use colors or lighting to create a concept for your portrait. Costumes or uniforms work great. Imaginary ideas are OK. Choose an interesting setting based on your concept.
3. Change angles between shots. Shoot at least 24 pictures of the SAME subject.
4. Use props if they will help the audience learn something about the subject.
5. Vary the lighting. Use filters, flashlights, lamps, or multiple lights to enhance your picture. Use the different lighting techniques that you will read about in class (see above).
6. Encourage different emotional looks. Pretend you are Austin Powers taking pictures. Tell your subject they are "groovy".
7. Having your subjects "pose" in action is just fine.
8. Most importantly for this assignment don't forget your compostion rules. Use framing, leading lines, rule of thirds, color contrast etc. to enhance your photo. Fill the frame.
Wednesday, October 15, 2008
Proejects Due Thursday/Friday
• Due at 11:15: The actual Photomerges for printing. Five Photomerges total (one vertical)
• Next assignment: Reflections
Our next assignment
WOW! 2008 Reflections
Entry deadline: Friday, November 14, 3PM
What has recently caused you to have a reaction like WOW? This year’s theme for the PTSA Reflections Program is short and simple, but has an infinite number of ways, with a little time and effort, you could put your ideas into a creative entry using visual art, music, writing, dance, photography or film/video that’s extraordinary.
Your process could be as simple or elaborate as you want, as long as it’s done within the time frame and rules of the National PTSA Reflections Program. How you depict what you think of as “WOW!” is totally your choice. Find out more about the Reflections Program and be sure to get your Entry packet with all the instructions in the Main office by the end of Sept. Check out the past programs at WA State Reflections website including last year’s gallery of National finalists at http://www.wastatepta.org/programs/Reflections/reflect.htm.
Entry forms are in the office.
Questions? Call the SC Reflections Chair, Linda Feathers at (206) 361-9074.
Saturday, October 11, 2008
Tuesday, October 07, 2008
Final Grayscale Pictures to Print
Two total pictures.
Use the naming convention_grayscale_print and drop it into the classes server.
I will grade your grayscale pictures next week.
Photomerge Assignment for Digital Photo


Your assignment over the next five to six days:
You will create Photomerge pictures. These are 3-5 pictures that overlap to show a wide landscape or cityscape (one big picture).
Your three Photomerges should be taken at three different locations at three different times of day: sunrise, afternoon, and sunset.
Use a tripod if possible. Remember to manual adjust white balance or select something like "cloudy" or "sunny" on your camera.
Summary
- Three locations
- One Photomerge from each location
- make sure each Photomerge is taken at a different time

Monday, October 06, 2008
Saving Your Grayscale Pictures after they are adjusted
BCM=Basic Chanel Mixer
AA=Ansel Adams
LC=Lightness Channel
Duo=Duotone
Calc=Calculations
Please save your pictures in different folders. The folders should be titled the name of the adjustement methods we've discussed in class.
Don't forget to put the adjustment method at the end of the file name. For example a picture of a shoe would be: naming convention_shoe_BBW. (BBW means basic black and white).
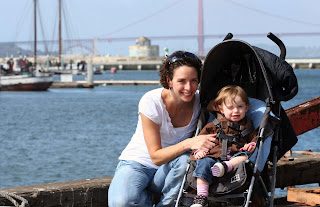
San Francisco Pics
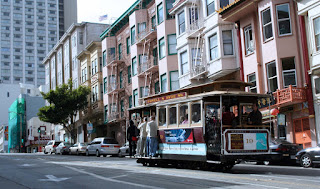
A Trolley Heading Up Powell Street
Selective Focus
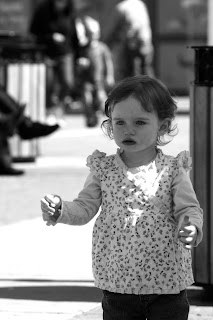
Grayscale Adjustment using basic Black and White
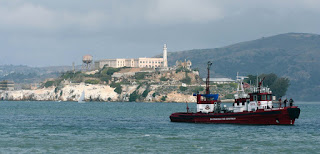
Alcatraz
Color Balance, Brightness Contrast, selective Sky Exposure Adjustment
(I still wish this picture was more vibrant).
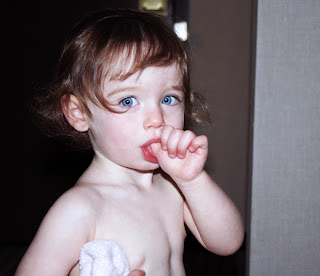
Color Balance and Photo Filter Adjustment
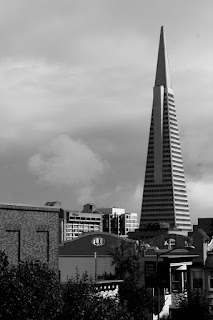
Grayscale using Lab Color
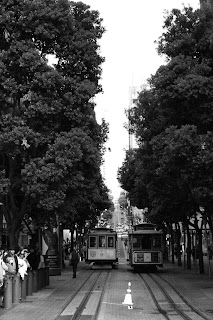
Basic Channel Mixer Grayscale
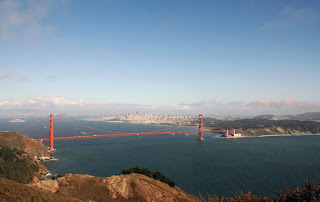
Golden Gate looking South-East
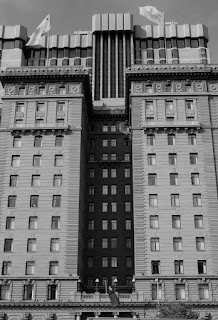
Ansel Adams Grayscale
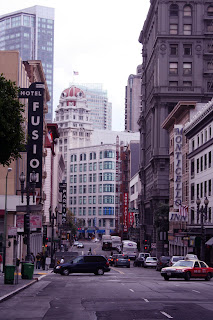
Color Balance and warming Photo Filter Adjustment

Brightness/Contrast Adjustment

Eight Picture Photomerge
Thursday, October 02, 2008
Digital Photo Homework
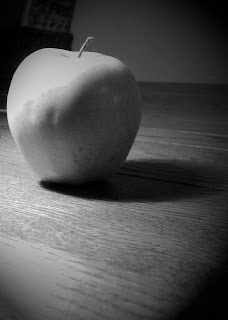
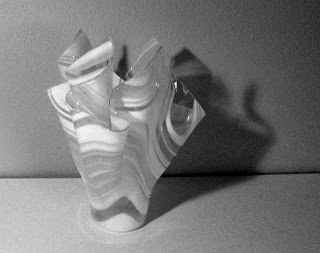

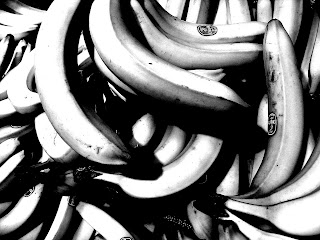
Your Photo Homework over the weekend is to shoot 24 pictures involving man-made shadows shadows and 24 other images involving lightness/darkness relationships with a focus on patterns.
You should have at least five different subjects for each group of pictures for a total of ten subjects.
Pictures are due Monday.